Difference between revisions of "IOT-GATE-iMX7: Getting Started"
(→Service bay view - w/o modem) |
|||
| Line 9: | Line 9: | ||
<br><br><br><br> | <br><br><br><br> | ||
| − | === Service bay view | + | === Service bay view === |
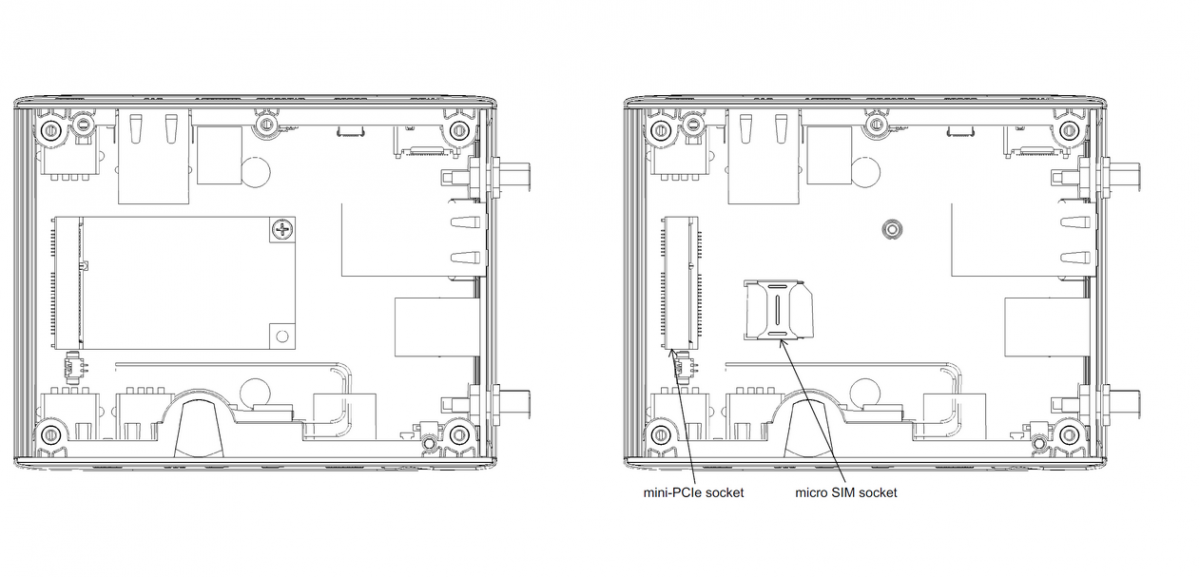
: [[Image:IOT-GATE-service-bay.png|1200px]] | : [[Image:IOT-GATE-service-bay.png|1200px]] | ||
Latest revision as of 11:31, 7 June 2017
Contents
IOT-GATE-iMX7 Overview
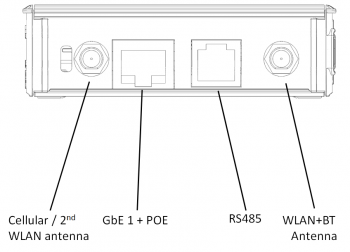
Front view & Rear view
Side view
Service bay view
Quick Setup
- Connect the display to the IOT-GATE-iMX7 DVI-D display output using a standard HDMI cable.
- Connect USB mouse and keyboard devices to the IOT-GATE-iMX7 USB connectors.
- Insert the AC power-supply blade into the power supply unit.
- Insert the power supply plug into the IOT-GATE-iMX7 power jack. Turn the power plug clockwise to lock the plug.
- Connect micro USB cable between host PC and IOT-GATE-iMX7 USB console connector.
- On your host PC, start a terminal emulation program (such as HyperTerminal) with the following serial port settings:
Baud Rate Data Bits Stop Bits Parity Flow Control 115200 8 1 none none
- Plug the power supply unit into an AC outlet. IOT-GATE-iMX7 will turn on and boot into HLOS.
- Use "root" as a username and "111111" as a password as initial embedded linux account credentials.
First Boot
IOT-GATE-iMX7 will automatically boot into the OS. Log in using the following user details:
- Username: root
- Password: 111111


