Difference between revisions of "Getting started with Linux on EM-X270"
(New page: == Image installation == === Installation with LiveDisk === * Extract the contents of {{filename|LiveDisk.zip}} from [http://www.compulab.co.il/x270em/download/x270-em-linux.zip Linux pa...) |
(No difference)
|
Revision as of 13:12, 10 March 2008
Image installation
Installation with LiveDisk
- Extract the contents of LiveDisk.zip from Linux package for EM-X270 onto USB flash drive.
- Insert the flash drive into "USB-A to mini-USB" adaptor supplied with EvalKit, and connect the other side of the adaptor to EM-X270.
- Power up the EM-X270 while holding the "suspend/resume" button. You may release the button as soon as you see CompuLab logo on the LCD screen.
- Wait until systems starts. You will be asked to calibrate the touchscreen and create a user to log in to the system
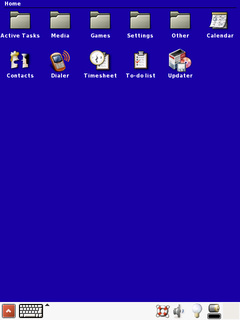
- Click on the Updater icon. EM-X270 updater application will start.
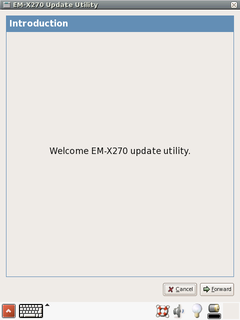
- Click Forward to continue, or Cancel if you decided to abandon the installation
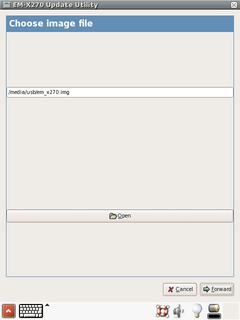
- By default, updater application will search for /media/usb/em_x270.img image file. Press Open or fill the filename entry to choose another image.
- After you've chosen the image, press Forward.
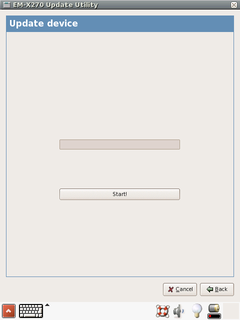
- Press Start! button to update EM-X270.
- After restart the system will boot Angstrom Linux from the internal NAND flash. Note, that the first boot takes relatively much time because Angstrom Linux performs a lot of one-time initialization tasks.
|
Make sure you do not interrupt the updater application after pressing Start!, keep the USB flash drive inserted and the device powered up during the update process. |
|
Any time you would like to boot clean system from the USB flash drive, you can unpack the original LiveDisk.zip to the USB flash drive and start over. |


