CM-FX6: Android: Getting started
Contents
Overview
The following outlines the procedure necessary to install Android on CM-FX6.
Installation target media
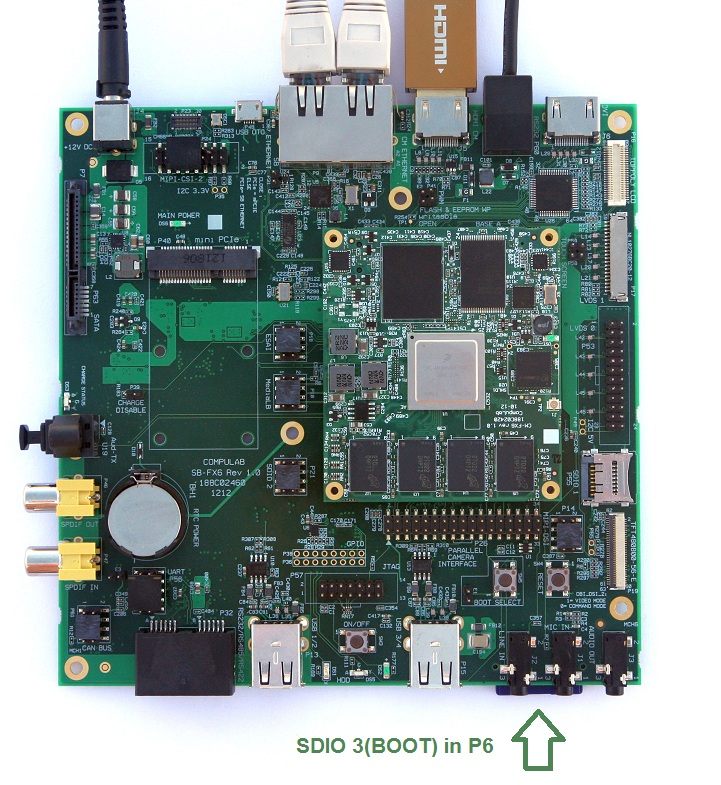
CM-FX6 may use either SD card (P6) or SATA SSD as root file system.
Installation onto SD card
Preconditions
- Properly connected CM-FX6 evaluation kit with valid U-Boot
- SD-Card with minimal capacity of 2GB, which will serve as boot medium and root file system
- PC workstation for creating bootable SD-Card
Prepare bootable SD-Card
- Download prebuilt Android image.
- Unzip the file in order to get dd image.
- Flash the bootable image to the SD-Card following the directions.
- On Linux, the instructions below may be used instead:
# dd if=cmfx6-android.img of=/dev/sdc bs=4M
Boot
- Insert bootable SD-Card into SD-Card slot (P6)
- Power on
- Within 3 seconds the device should start booting into Android.
- Within 60 seconds the HDMI display should start showing signs of life.
Post Install Procedure
- On first boot, proceed to Settings->Developer options, check Stay awake ... while charging to prevent the device from going to suspended state.
| If Developer options item is hidden (as is the default in Jelly Bean), re-introduce it proceeding to Settings->About tablet and clicking on Build number 7 times consequently. |
- Default display configuration may be overridden following the display configuration directions.